Continuing the Laser Mapping exercise
Overview
This week I kept working on the laser mapping exercise.
Uploading laser mapping universe to Robotics Infrastructure
I uploaded the models and world of the laser mapping exercise to Robotics Infrastructure and added the launcher and the universe ID to the database so I can build the Docker image with the new universe for the exercise. When I tried it in Robotics Academy, the world didn’t launch when I clicked the exercise, so something was wrong. After quite some time of testing and with the help of my peers, I was able to find the issue. The models used in laser mapping were added to a new directory in the CustomRobots package, but I didn’t add it to the CMakeLists.txt of CustomRobots so the project skipped the models when building the package. After adding it, it now works.
Continuing the Laser Mapping exercise
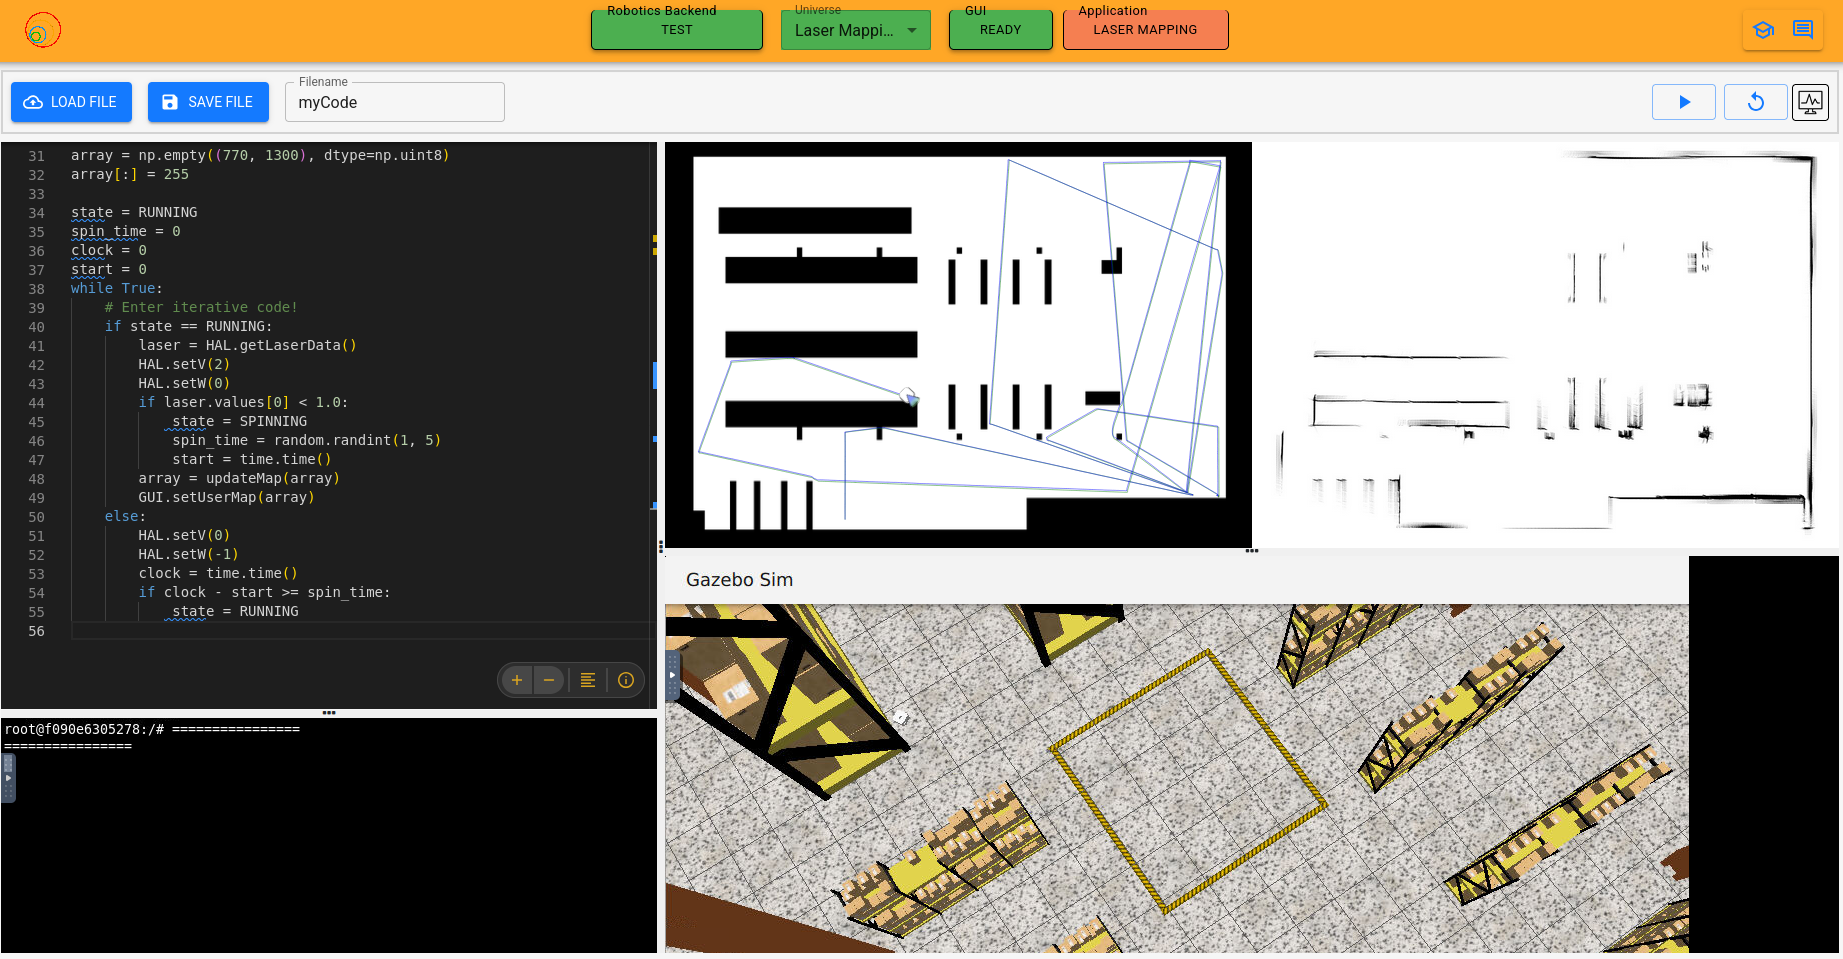
With the new universe now working on Robotics Academy, I had to make some changes in the RA side. First I created a new map for the exercise that matches the new world.
This will be shown in the frontend as a reference to compare with the map the user is creating. Then I had to update the way the frontend calculates the position of the robot in this map since it was using the values of the old one so the position of the robot in the interface was incorrect. To calculate the position of the robot in the map, it uses this formula:
1
position_in_pixels_x = scale_x * (offset_x - position_in_gazebo_x)
It’s the same for the y coordinate but using a different scale and offset. By taking two positions in gazebo with their known pixel positions in the map, I can make a system of equations to calculate the offset and the scale, for both x and y. That way, I got the offset and the scale needed to correctly position the robot icon in the frontend map. Then, I added a new function to GUI called poseToMap, which allows the user to do the same thing, taking the coordinates in the gazebo world and transform them into the position in pixels for the map. I also added a size restriction for the map sent to the setUserMap function so the map the user is building has to be 770 pixels high and 1300 pixels wide (the same dimensions as the frontend map). Lastly, I updated the user documentation with the new functions for the exercise.
The exercise is almost done but there are still some things to be done like more odom functions to get the position of the robot with less or more noise and the solution of the exercise.