Summary Report
Late nights, excitement and learning are how I would describe the GSoC period in a few words. These past two months have been a lot of fun, from starting off...

Getting started with my GSoC period, one of my goals during the project was to make drone applications using Visual Circuit. JdeRobot’s Academy already has some great exercises related to drones and their basic concepts, my job was to get a solution running using Visual Circuit.

The challenge here was to get the exercises running locally on my system. This is because drone based exercises are usually very complicated to get running, with a lot of packages and dependencies there are many areas where one can mess up an installation. Unfortunately a lot of JdeRobot’s support for these exercises is moved online onto their Docker Image, while it is a great way for newcomers to get the exercises running with little or no difficulty, it wasn’t going to work for me.
In the following blog I’m going to be describing how I got these exercises running locally, the errors I encountered and how I solved each one:
| OS | Ubuntu 20.04 LTS |
| ROS | Noetic |
To start with I followed this guide on the JdeRobot drones repo.
The ‘drones’ repo contains the main dependencies needed to run the exercises
You also need to install these packages
sudo apt-get install ros-noetic-jderobot-drones
While building the files in my catkin_ws I was encountering an error with the import of the teleopWidget.
Apparently Python couldn’t detect the path, despite being in the same directory.
I changed the import to a relative import:
from teleopWidget import TeleopWidget —-> from .teleopWidget import TeleopWidget
As soon as I solved this error, I encountered another one however. This time with a package name qfi. Apparently it wasn’t being found.
I found this GitHub issue and this StackOverflow thread about it.
The solution was to clone this repository called ThirdParty by JdeRobot. Within qflightinstruments/python we can find the qfi module. Now we have to add this to our where our Python distribution stores its packages.
cd ~
git clone https://github.com/JdeRobot/ThirdParty
cd ~/ThirdParty/qflightinstruments/python
cp -r qfi /usr/lib/python3/dist-packages/ # This is for my case
# cp -r qfi /usr/lib/python2.7/dist-packages/ Might work for some people
Finally I tried running the follow_road exercise.
The issue this time was that Gazebo took far too long to launch. Upon launching I found that the drone model hadn’t spawned it.
It looked like my Gazebo model path did not include the JdeRobot drone_assets from the drones repo.
echo "export GAZEBO_MODEL_PATH=$GAZEBO_MODEL_PATH:~/catkin_ws/src/drones/drone_assets/models" >> ~/.bashrc
The above lines will append the drone_assets repo to your Gazebo model path whenever you start a terminal session.
After this, I got follow_road launched, and could get the drone moving via the RQT controller.
Next, I had to launch drone_cat_and_mouse, here there was another error saying a package called xmlstartlet wasn’t found. I referred to this issue and simply installed it via the terminal.
sudo apt install xmlstarlet
The exercise launched fine after this.
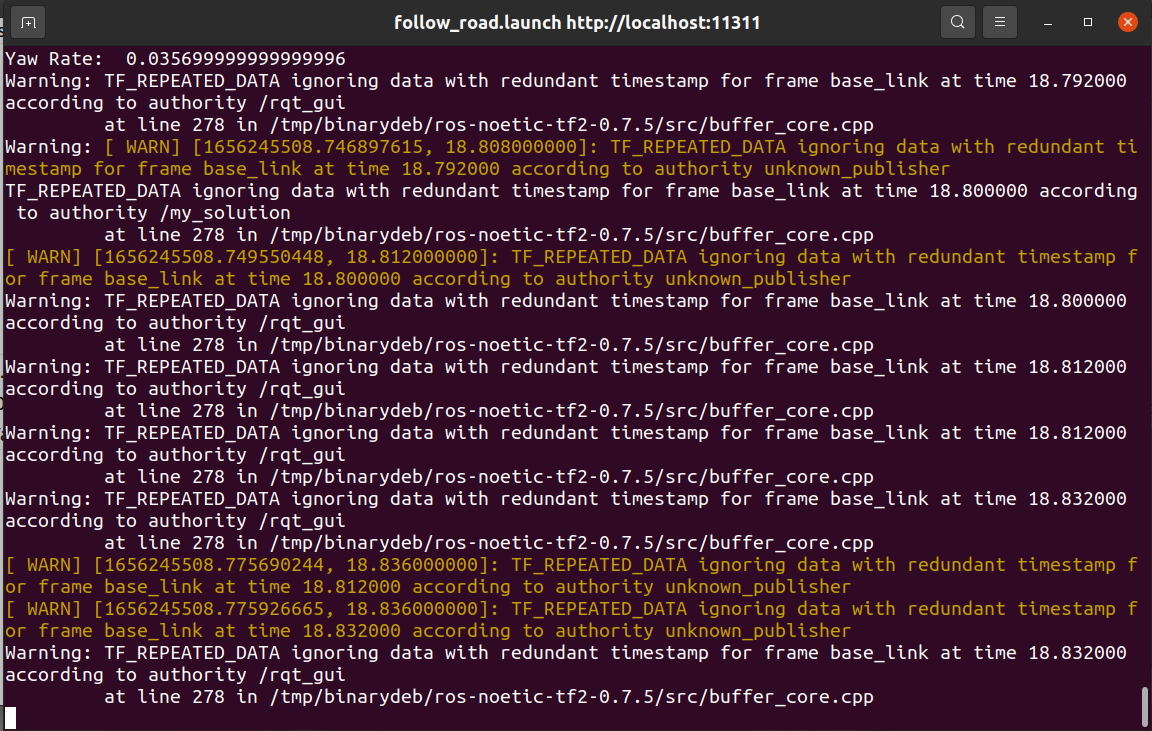
However there is a warning that frequently pops up on the terminal for most of these exercises. In order to silence that warning, simply do this
roslaunch follow_road.launch 2> >(grep -v TF_REPEATED_DATA ignore)
Image of warning:
Late nights, excitement and learning are how I would describe the GSoC period in a few words. These past two months have been a lot of fun, from starting off...
Going by the suggestions of my mentors, I spent this week working on the documentation of the blocks and some updates to my blog.
This week I looked into MultiProcessing Conditions and finished the video of the FSM.
This week saw the completion of the FSM video and the solution to the block size bug.
I made more progress with the documentation and some other auxillary bug fixes this week.
Another pretty busy week for me personally. This led to a bit of slowdown in the work done. However I started with the documentation editing through Jinja an...
This week was quite hectic for me. My college started offline after a while, due to travelling and a few other events the time I could spend on Visual Circui...
This was a week where I started to work on the Finite State Machine that I had mentioned in my proposal.
This week marked a focus on completing the remaining PRs from last week. I also finished adding a new IMU block and worked on general share() and read() func...
This week I finally finished the remaining templates from last week. I also managed to upload my created videos to the JdeRobot YouTube Channel.
This week was about identifying and solving some bugs I had noticed during usage of the tool. I also started with the work template updation.
This week marked the official beginning of the coding period. Going by last week’s set goals I started on the video creation part first and foremost.
This was the last week of community bonding, however due to other commitments in college I had a hard time working on Visual Circuit.
In my previous posts I had highlighted the challenges I faced while installing Jde Drones and getting code running on it. Next after these steps was to solve...
After I got the drones running now it was time to actually write the code to solve some exercises. The goal for this week of the GSoC period was to get 1-2 a...
Getting started with my GSoC period, one of my goals during the project was to make drone applications using Visual Circuit. JdeRobot’s Academy already has s...